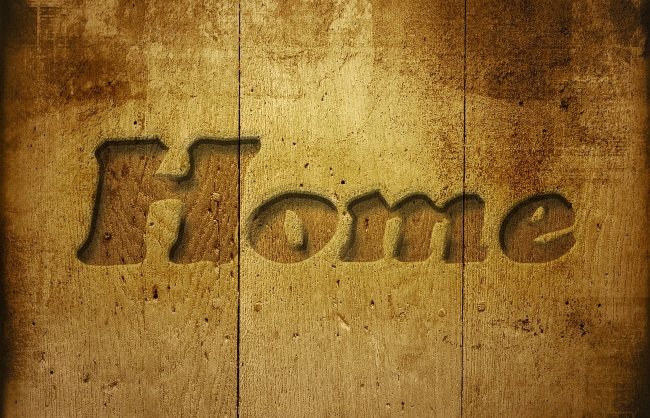
From signs that will only get one use, such as those required for a wedding directing guests to the venue or car park, to signage used daily in the workplace directing staff and/or customers to the toilets to signs to decorate your home with a positive quote or motto, signs can be used in a variety of situations, establishments and for almost any purpose.
Signs don’t have to be purely functional either, so why not make your signage beautiful? And, for beautiful signs, what better material and method than the timeless elegance of engraved wood signs.
This guide takes you through the process of creating beautiful engraved wood signs whether you are laser engraving wood signs or hand engraving them.
Tools Needed To Make Engraved Wood Signs
For Hand Engraved Wood Signs
- Piece of wood.
- Wood stain (optional)
- Stencils.
- Masking Tape.
- Tracing paper.
- Set of hand carving tools.
- Gloves.
- Safety glasses.
For Laser Engraved Wood Signs
- Piece of wood.
- Design Software compatible with your laser cutter.
- Laser engraving/cutting machine.
- Masking tape.
- Gloves.
- Safety glasses.
How To Engrave Wood Signs
Step 1: Choose a Project.
Whichever method of engraving you are using for a first project we would recommend choosing something basic such as simple lettering and one or two words.
Once you’ve perfected your technique you can move on to more complicated projects using more complex designs, wording and patterns.
Step 2: Choose and Source Your Wood.
Depending on the style you might want to purchase wood of a particular species for the colour and grain or reclaim or recycle wood for a more rustic look. Having some test pieces of wood available to practice on is highly recommended.
Step 3: Stain the Wood (optional).
If you want to stain your wood you can do so at this point. If using a laser engraving machine check the manufacturer’s guidelines for using stained wood regarding fire risk.
Step 4: Choose your Desired Font or Image.
Your method of engraving will affect your choices here. Using a laser engraving machine will give you more flexibility. If you are hand engraving you will want to keep it as simple as possible while you learn your craft.
Step 5: Trace Your Design.
If you are hand engraving you can print your desired wording or design and then using masking tape and tracing paper trace it directly onto the wood.
Step 6: Engrave Your Sign.
Remembering to use your gloves and safety glasses to keep yourself safe either use the laser engraving machine or your engraving tools to engrave your sign. Understandably the two processes will take dramatically different amounts of time.
Step 7: Paint the Sign.
For hand-engraved wood, painting the lettering or design can help hide any imperfections. Paint can also help the design to stand out. Choose a paint or wood stain that is suitable for the environment in which the sign will be used.
Step 8: Hang the Sign.
Check the suitability of your chosen wood before you choose your method of hanging. Reclaimed wood may not take being screwed in place well and rustic signs can also look better hung with string or rope anyway.
When To Let Us Engrave Your Sign For You
Love the idea of designing your own engraved wood signs but don’t have the time or the inclination to learn to hand engrave or the funds or space to invest in your own laser engraving machine and software?
Don’t worry. You can still design engraved wood signs for any purpose or occasion and trust us at Furnells to do the engraving part for you. Just create your design and get in touch and we’ll do the rest.

