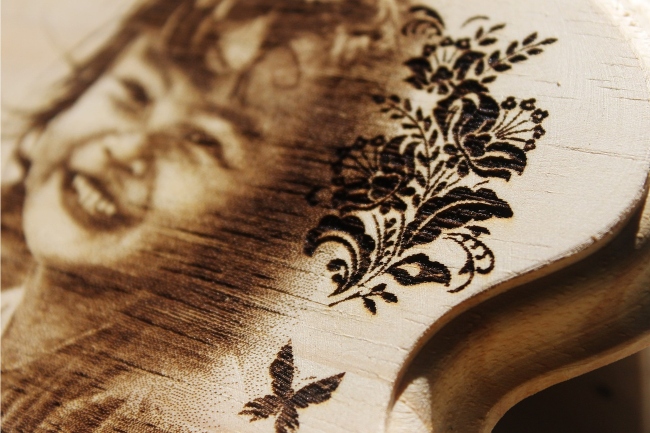
Laser engraving machines are easier to come by and are more affordable than ever. This means that more people have begun to try their hand at engraving or laser cutting either as a hobby or to earn a living.
Although beginners tend to make more engraving mistakes, even those who are more adept and well-practised at the engraving process can make mistakes.
Some common mistakes include misspelling a word or name or getting a date wrong, forgetting to preset the laser engraving machine to the right setting for the material you are using, and not having the laser in the correct position before you begin.
Others include inconsistent engraving, a problem with the laser engraver, smoke stained wood, a rough finish on glass and not creating the desired frosty white engraving look on acrylic.
It’s important not to give up just because you made a mistake, we’re human after all, and instead of throwing away your effort and wasting the material, we will go through some practical tips for how to fix a laser engraving mistake.
Identify the Mistake
When checking your engraving afterwards some mistakes are easier to spot than others. Some are also easier to fix than others and some just need to be laser engraved again on a new piece of material. Here are some quick fixes for some common problems.
Can Laser Engraving Be Removed?
Yes, on some materials such as wood, and most metal surfaces, on acrylic and glass too laser engraving can usually be removed.
On some other materials leather in particular as well as some plated metals it won’t be possible to remove the engraving.
What Are The Common Techniques In Fixing Laser Engraving Mistakes?
Sanding or Polishing the Error
If the engraved mistake is shallow and on a suitable material such as wood, acrylic or some metals then you can simply sand and polish it away. Make sure you use masking tape to protect the area around the mistake before sanding with coarse grit sandpaper. Once the mistake has been removed wipe with a damp cloth then smooth and polish with fine grit sandpaper for a smooth finish.
For deeper engraved mistakes on wood, you can fill using wood filler or wood putty and then follow the steps above. With those on glass or acrylic, you can fill the mistakenly engraved area with liquid acrylic or clear casting resin and then follow the steps above.
For engraving mistakes on stainless steel, see our previous post on how to remove laser engraving from stainless steel.
Re-engraving Area
One of the best ways to fix a laser cutting or engraving mistake is to change the design to mask the mistake and re-engrave over the top. Of course, this is only practical if your design allows it.
How To Avoid And Prevent Future Engraving Mistakes?
Of course, avoiding mistakes and preventing future ones is better than fixing them after the event. The following tips will help with the following problems:
Problem With the Laser Engraver
Clean your equipment. Not keeping up with the basic maintenance requirements is a common cause of various problems with your engraving tool.
Acrylic Engraving Lacks Frosty White Engraving Look
Make sure you are using cast acrylic sheets rather than extruded acrylic to get that frosted appearance.
Rough Surface and Finish on Glass Engraving
Test your glass first and where possible avoid crystal glass as this has a high lead content which doesn’t take the heat as well and is more prone to splintering and cracking.
Smoke Stains
Wood, especially lighter woods and some other materials too is easily marked and scorched due to the intensity of the heat and the excess smoke that the laser produces. Smoke stains and scorch marks can be avoided by using masking tape. It also gives you a neater finish.

